Retreat Poster Info Home > How to Print
Creating a poster in Illustrator is the most reliable way to get a high quality poster. First we present information for working in Illustrator. We also include information below for printing a PowerPoint file using "Preview" on a Mac. Finally, there are instructions for how to print a small version of your poster on 11 X 17 inch paper.
In Illustrator CS:
The dimensions of your poster are set by the Document Setup dialogue when a new document is being created. The image below shows the portrait orientation.
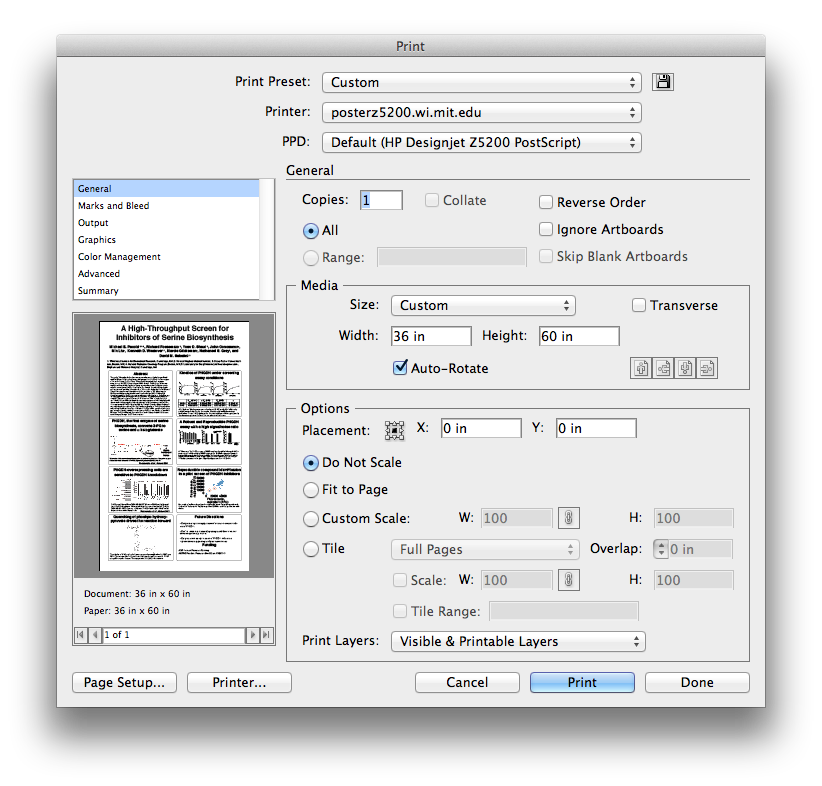
To print, once your poster is ready: make sure that you have the correct printer selected and that the driver (PPD) is correct. Sometimes the driver doesn't select automatically and you may have to scroll through the list for the DesignJet Z5200PS printer called "posterZ5200.wi.mit.edu". Change the size to Custom and the size should be set automatically, based on information you used in Document Setup. You'll be able to tell that the settings are correct by viewing the poster in the bottom left window in the print dialogue. If you can see all of your poster in the box, you are ready to hit print. If your poster appears a little off-center, you can use your mouse to gently shift it within the preview window.

If you do not see all of your poster try the following:
- Check the printer and driver (PPD). You want HP DesignJet Z5200 Postscript.
- Check the paper size (under "Media"). If you have the correct printer and driver selected, this should auto fill with the correct size for your poster once you select Custom. Sometimes it doesn't - in this case you may type in the correct size. Next see if the preview image looks right before hitting print.
- You may want to try clicking the different orientation buttons. Errors in orientation could be caused by errors in the document setup stage (the document was set up for portrait but the design is landscape) but could be easily fixed here with one click.
- The "Options" section - there are scaling options here that may be of assistance if nothing else is working. "Fit to Page" usually does a great job of resizing your design and aligning it within the correct print area, as long as you have the right printer and media sizes selected. Custom fit is also worth a try but may take some tinkering.
- Remember: the preview window in the print dialogue has proven to be quite accurate in showing what your finished product will look like. Use that to your advantage when changing your options in this step.
With a PowerPoint file, Using Preview on a Mac [instructions as PDF]
Printing from PowerPoint can cause lots of problems. Instead print your PowerPoint file using the Mac "Preview" application
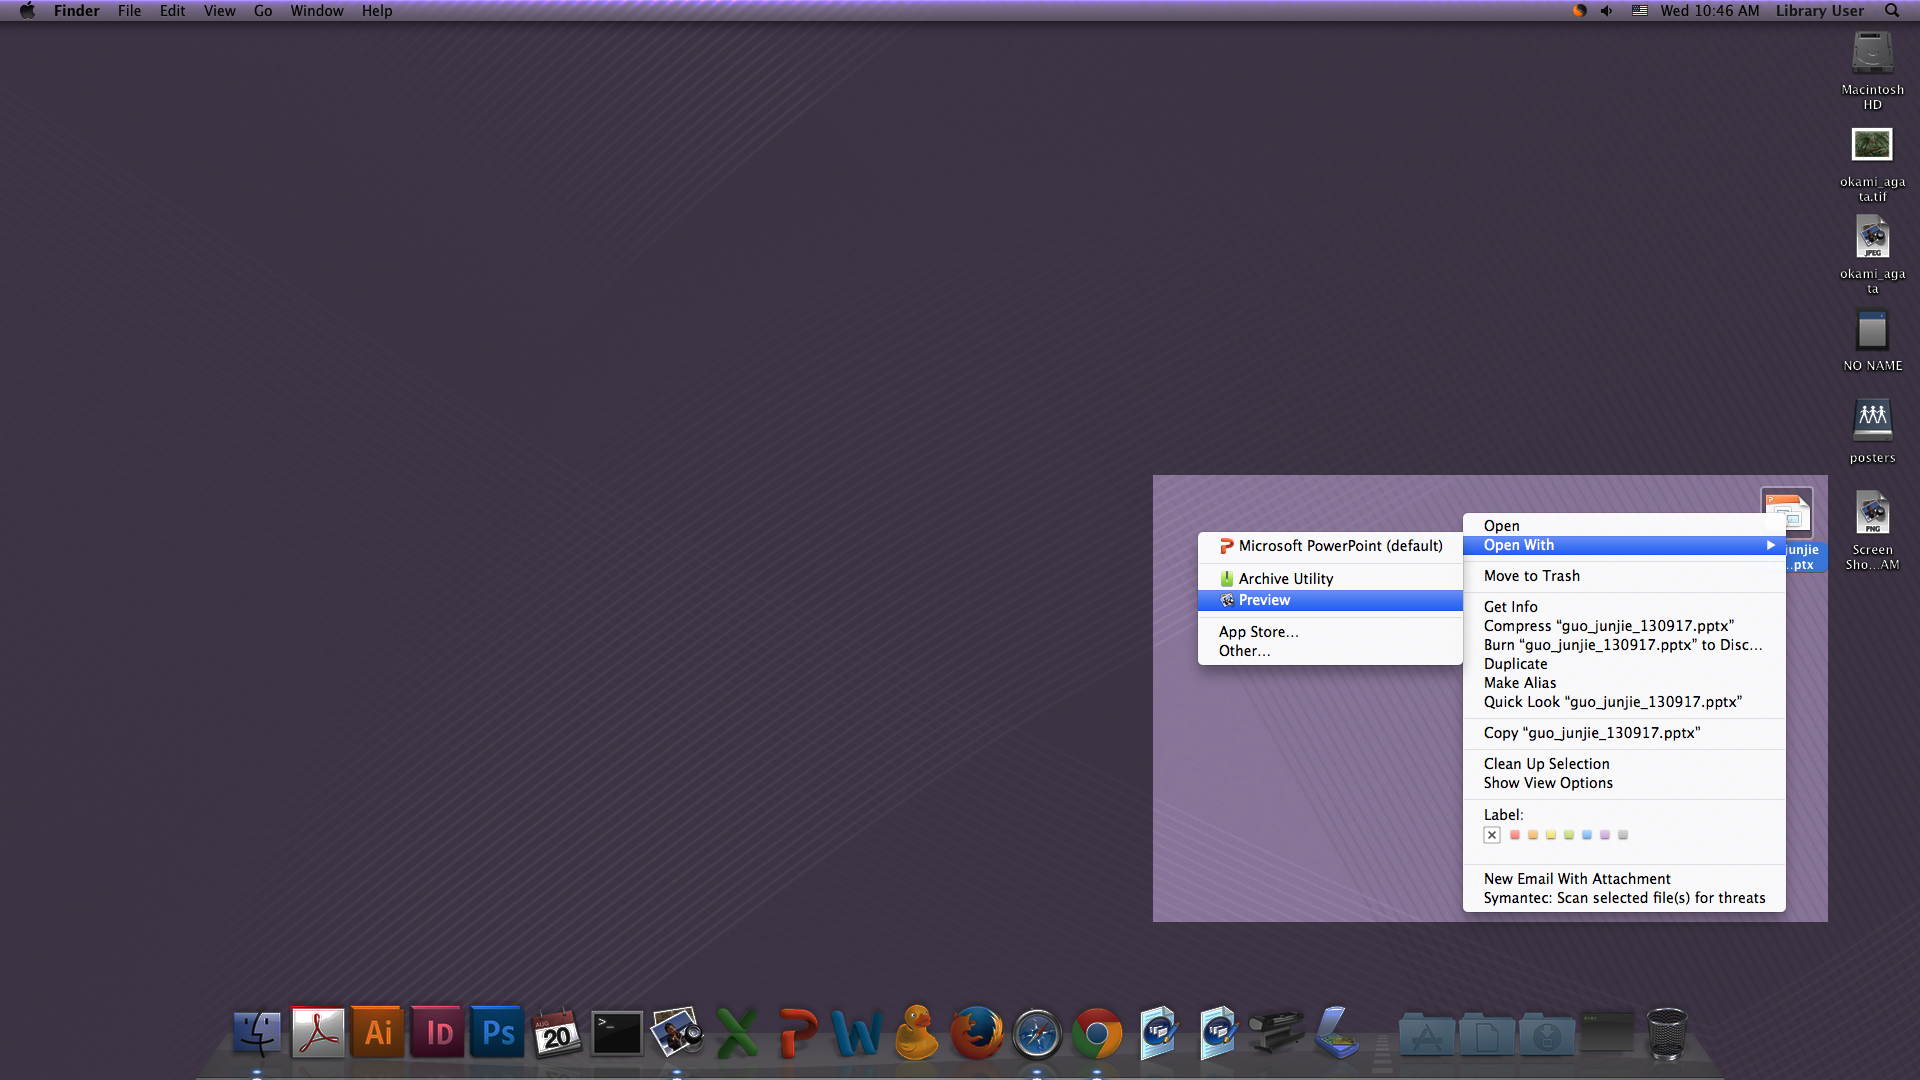
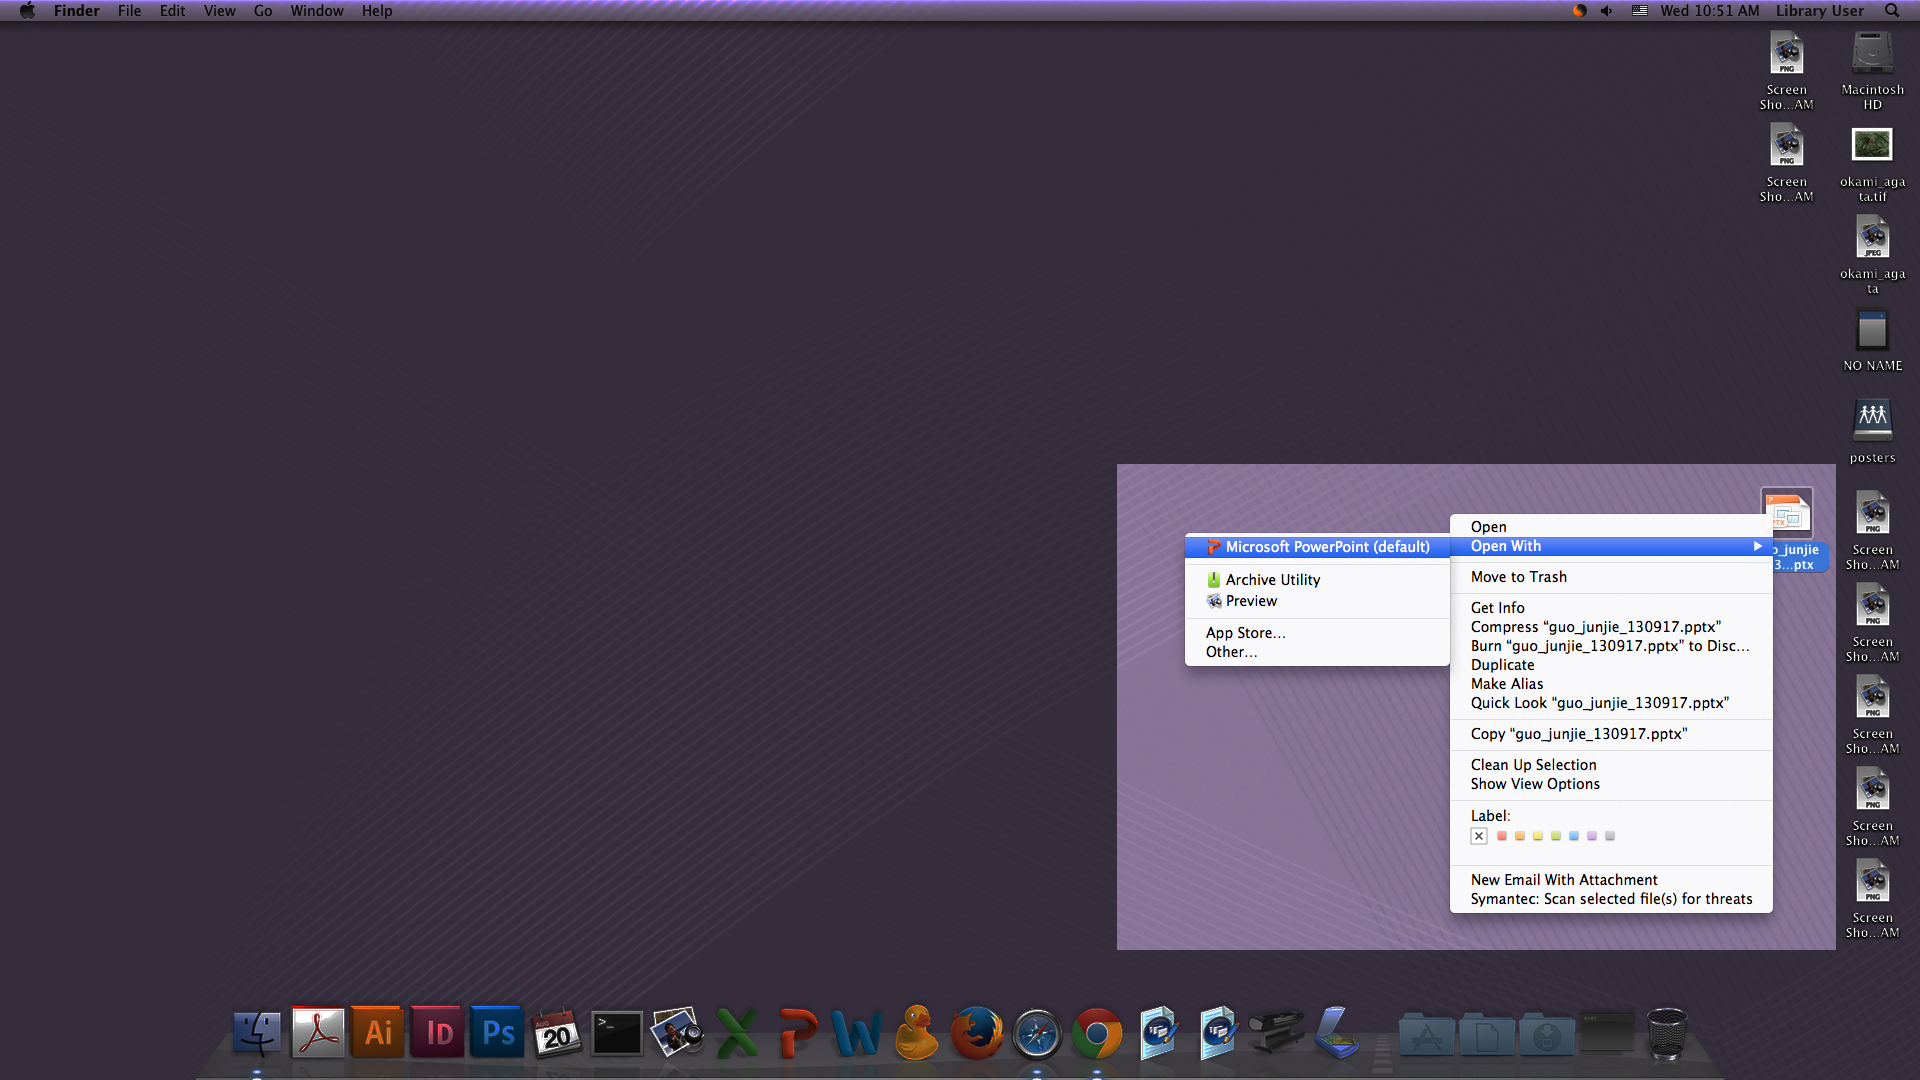
1) Drag your poster to the desktop and right click it.
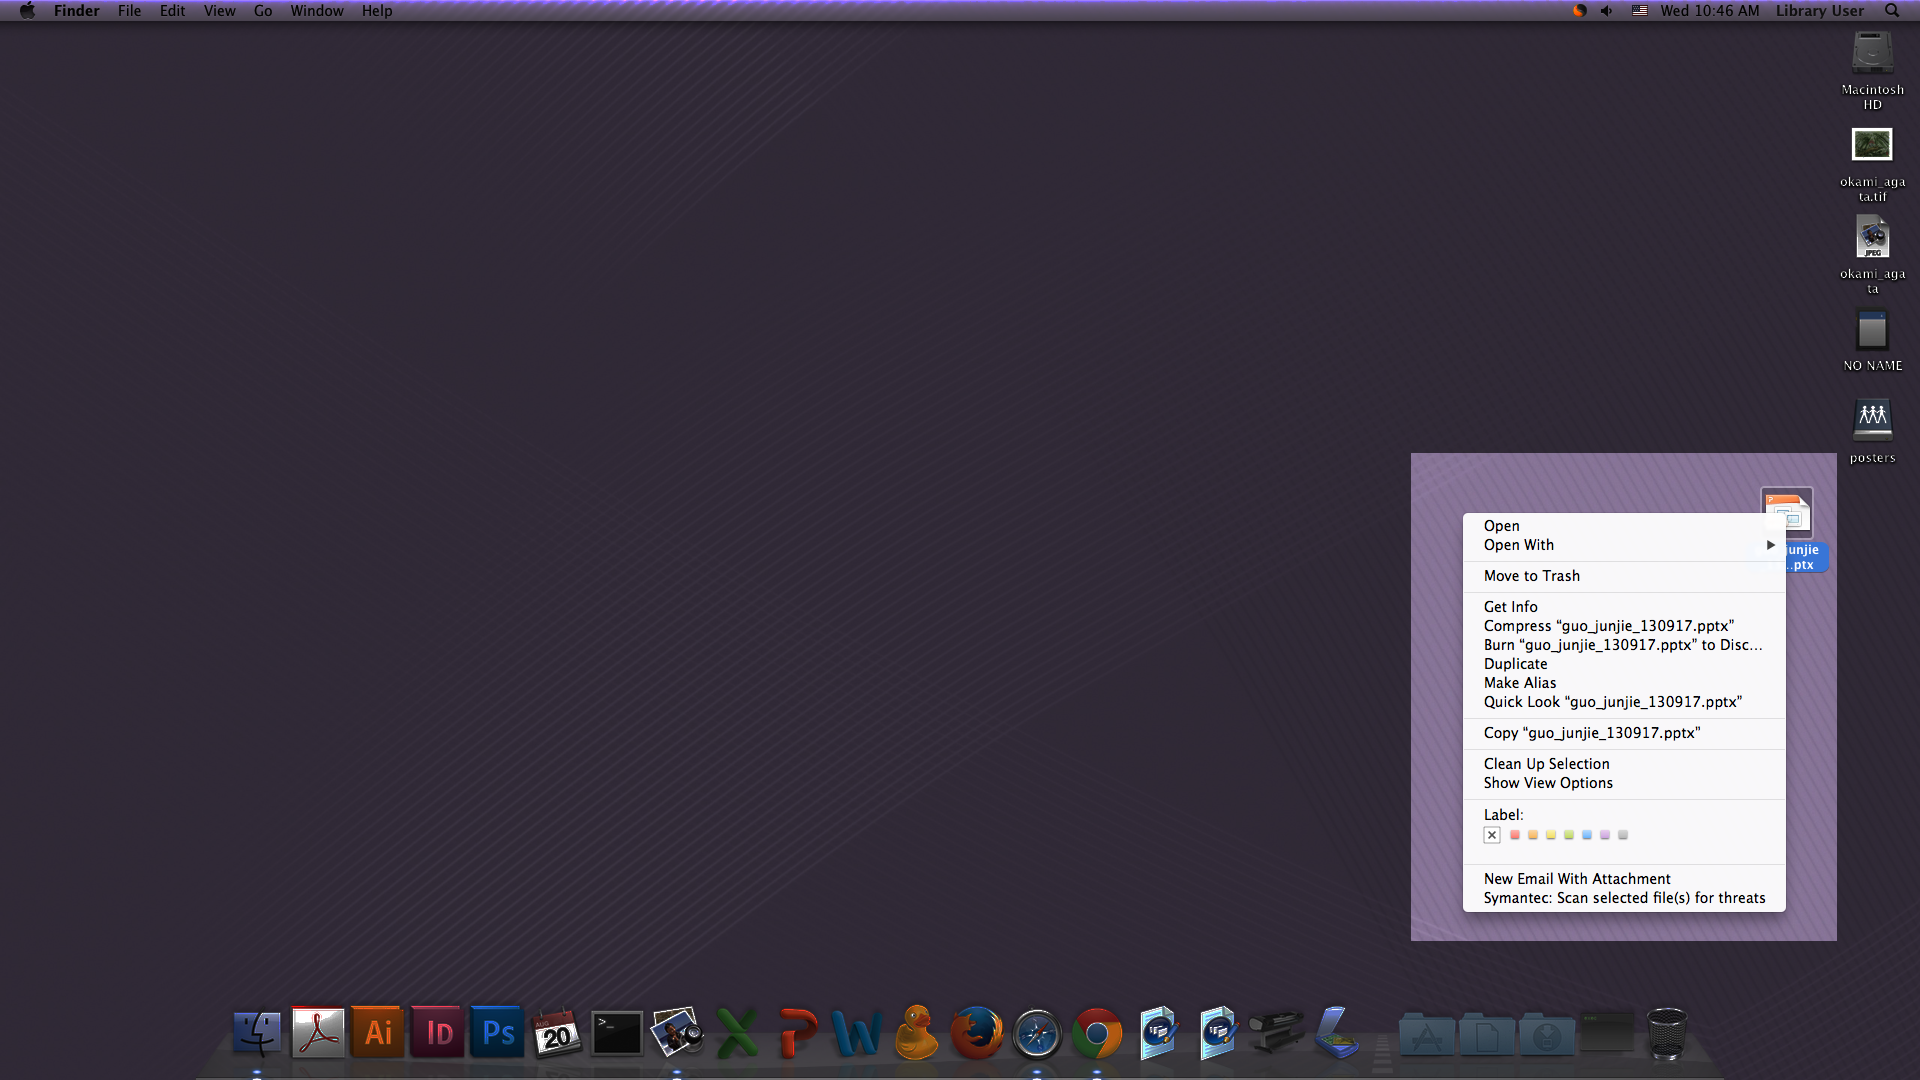
2) Hover over "Open With" and choose "Preview" from the menu that pops up on the left
3) When your poster has opened in Preview, MAKE SURE THE FORMATTING LOOKS CORRECT. If it doesn't and you designed your poster in PowerPoint go to the instructions below labeled Correcting PowerPoint Formatting to quickly and easily make your PowerPoint poster look exactly how you designed it.
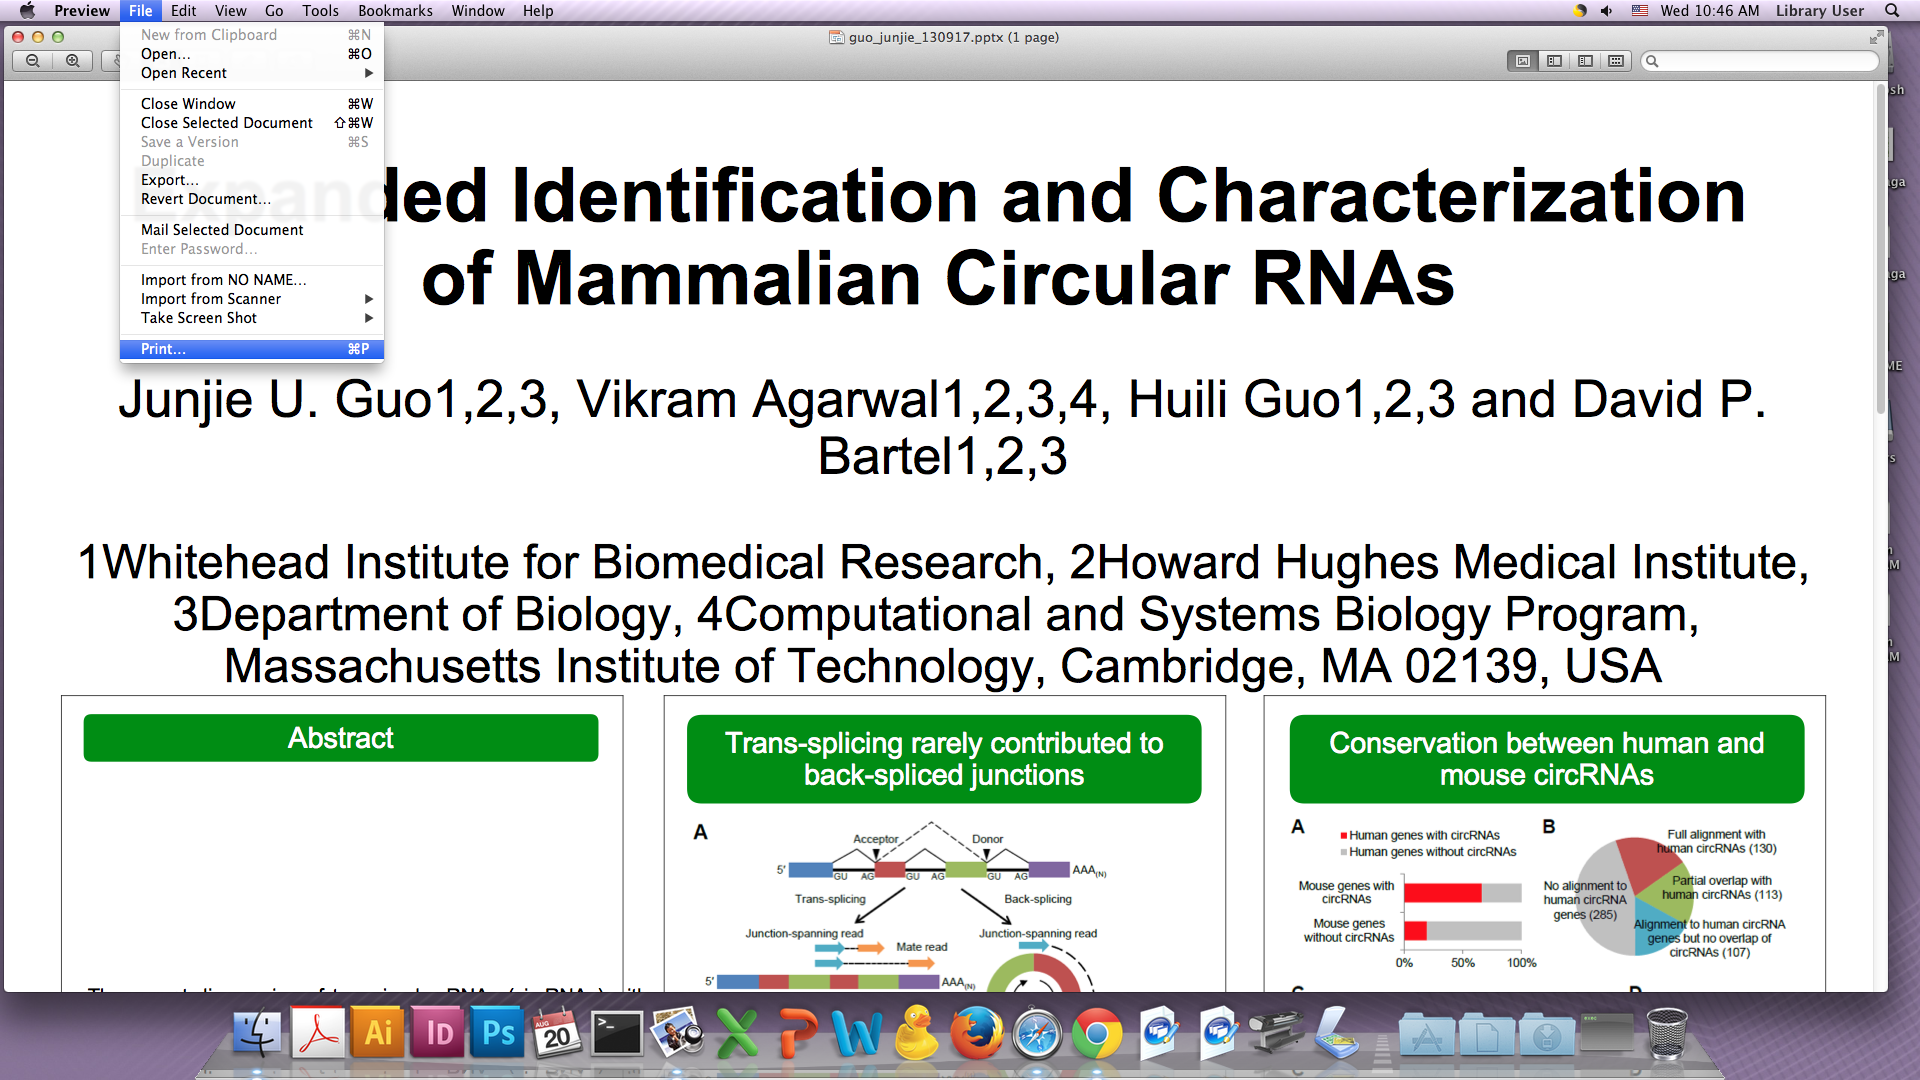
4) If the poster looks correct choose File>Print

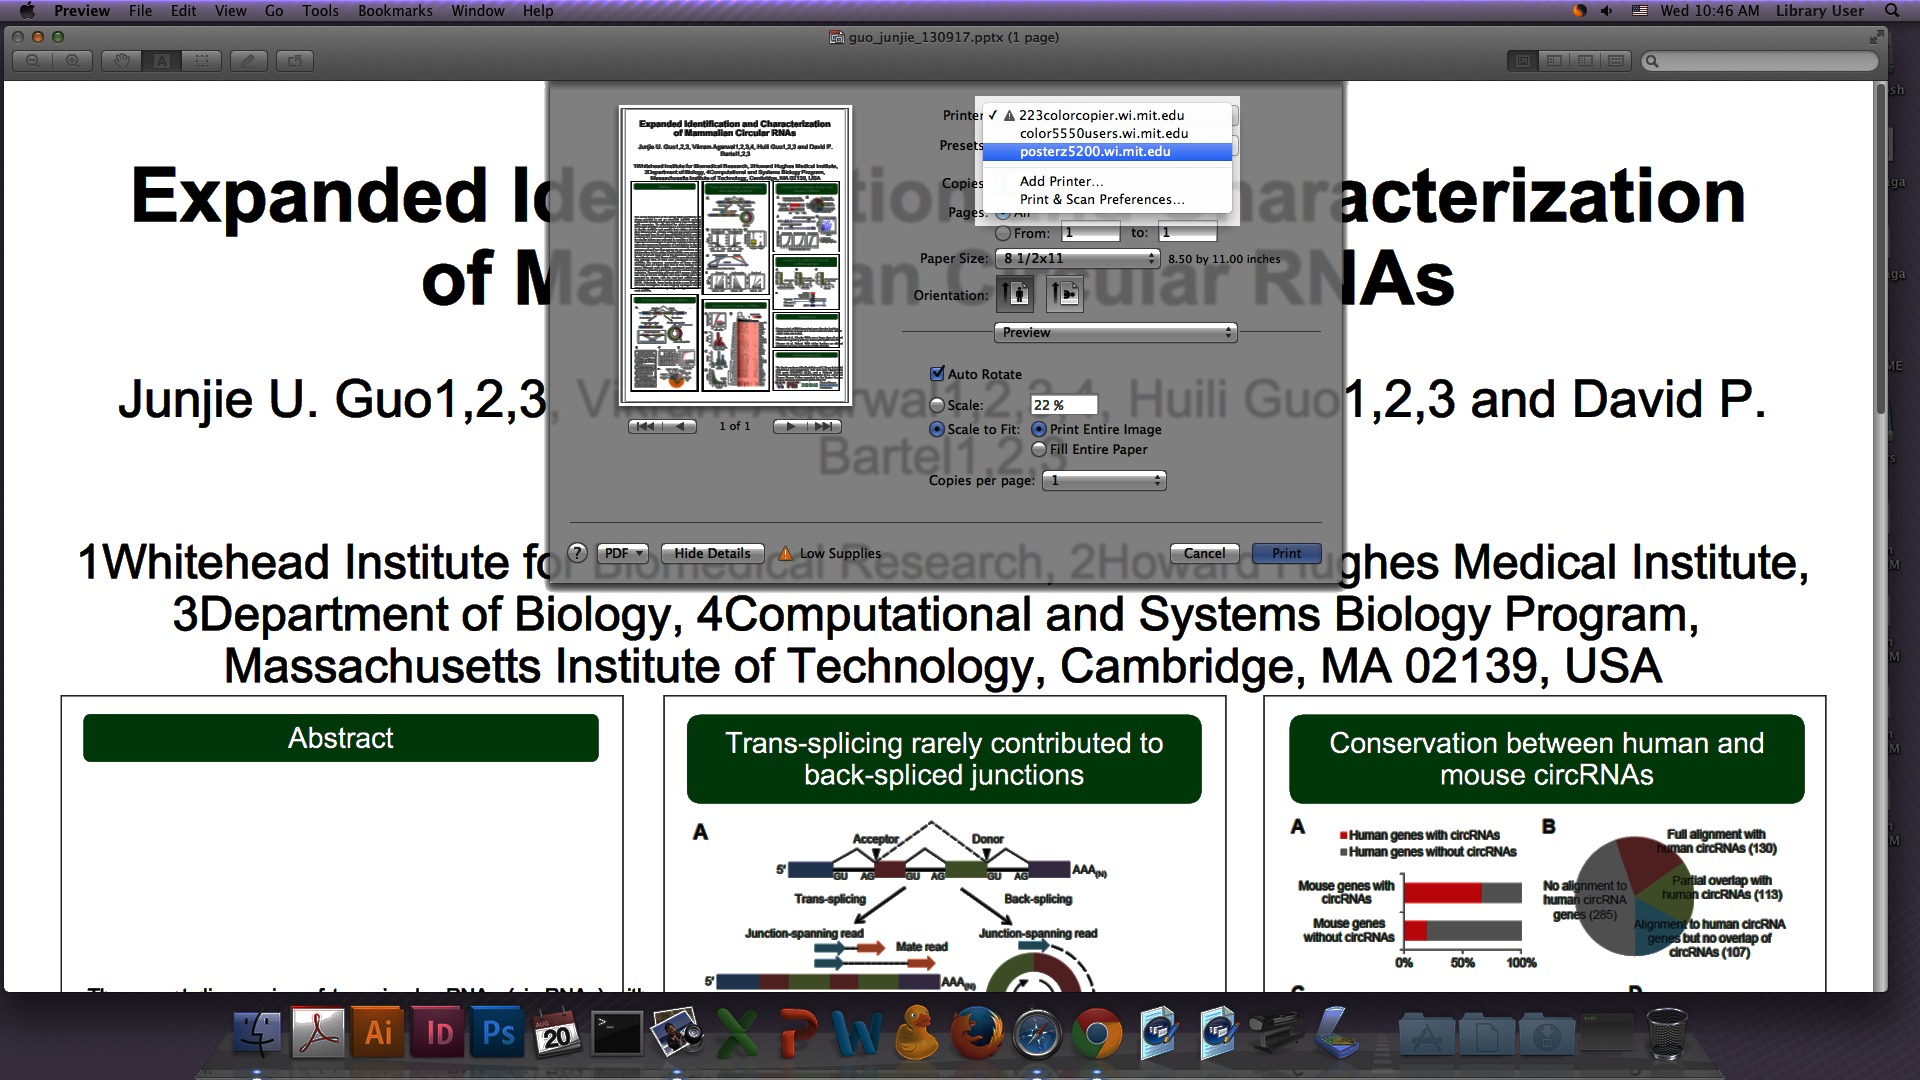
5) Select the printer "posterz5200.wi.mit.edu"
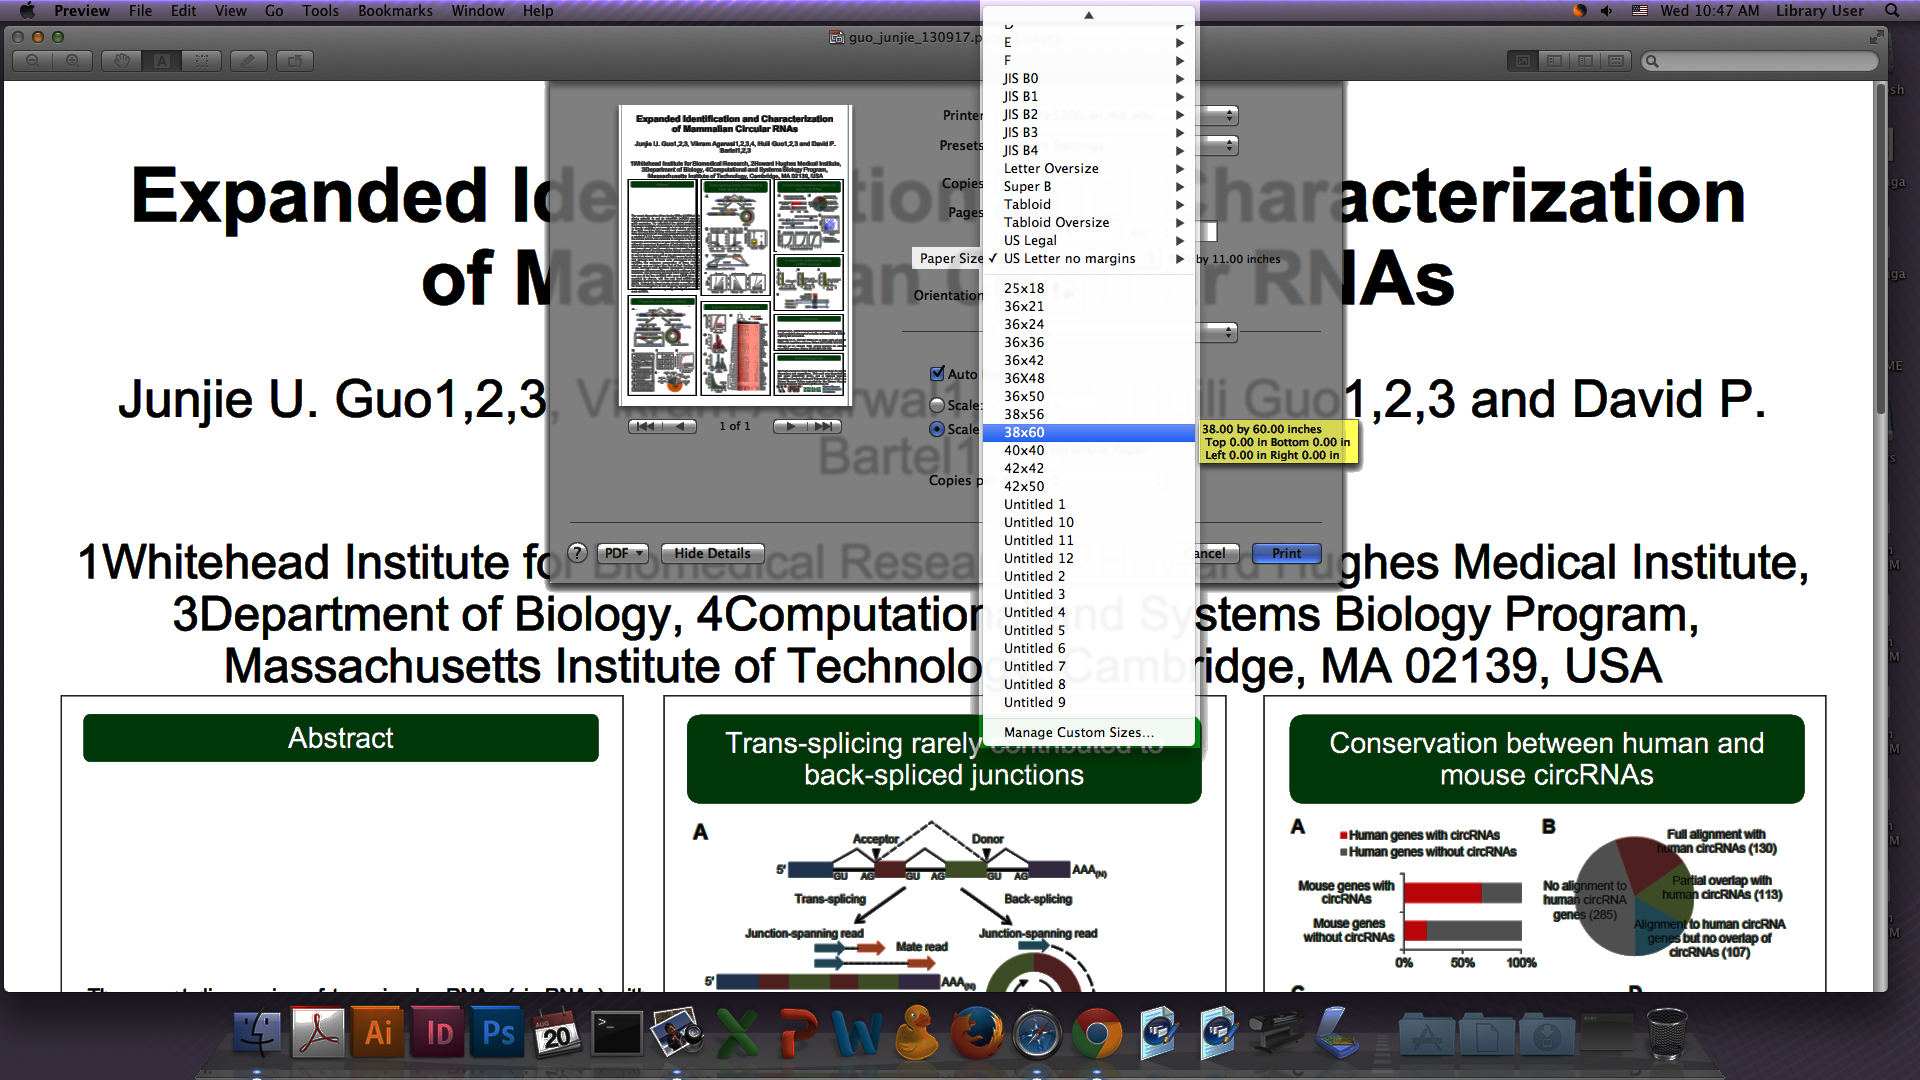
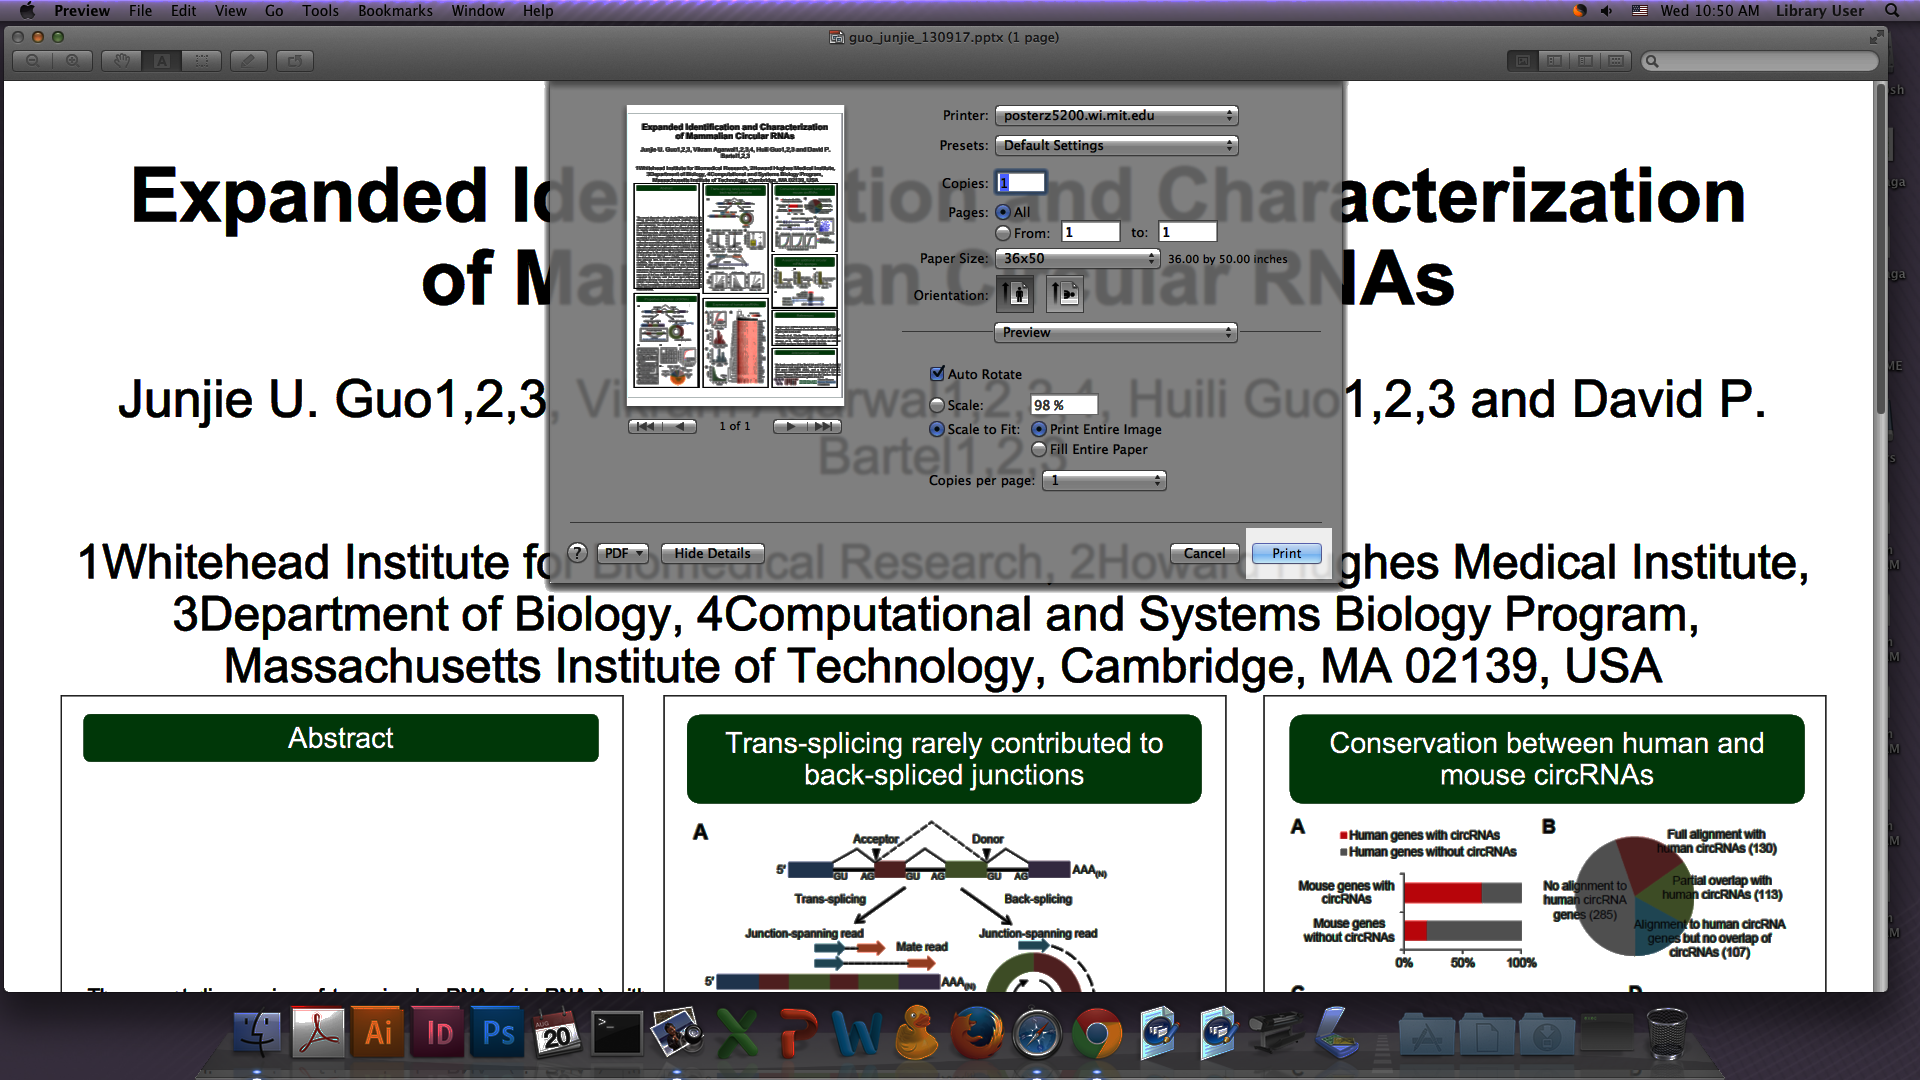
6) Choose the paper size that best fits your poster. Retreat posters are 36" wide and there are presets for a range of lengths in 2" increments. Pick the one that is closest to yours and Preview will automatically size it to whatever length you choose. Preview will not cut off the top or bottom if you choose a shorter paper length.
7) After selecting the printer and paper size, look at the picture on the left of the pop-up print menu. If it looks OK go ahead and hit print. That's it!
Correcting PowerPoint Formatting
1) Select your file, right click it, and select "Microsoft PowerPoint".
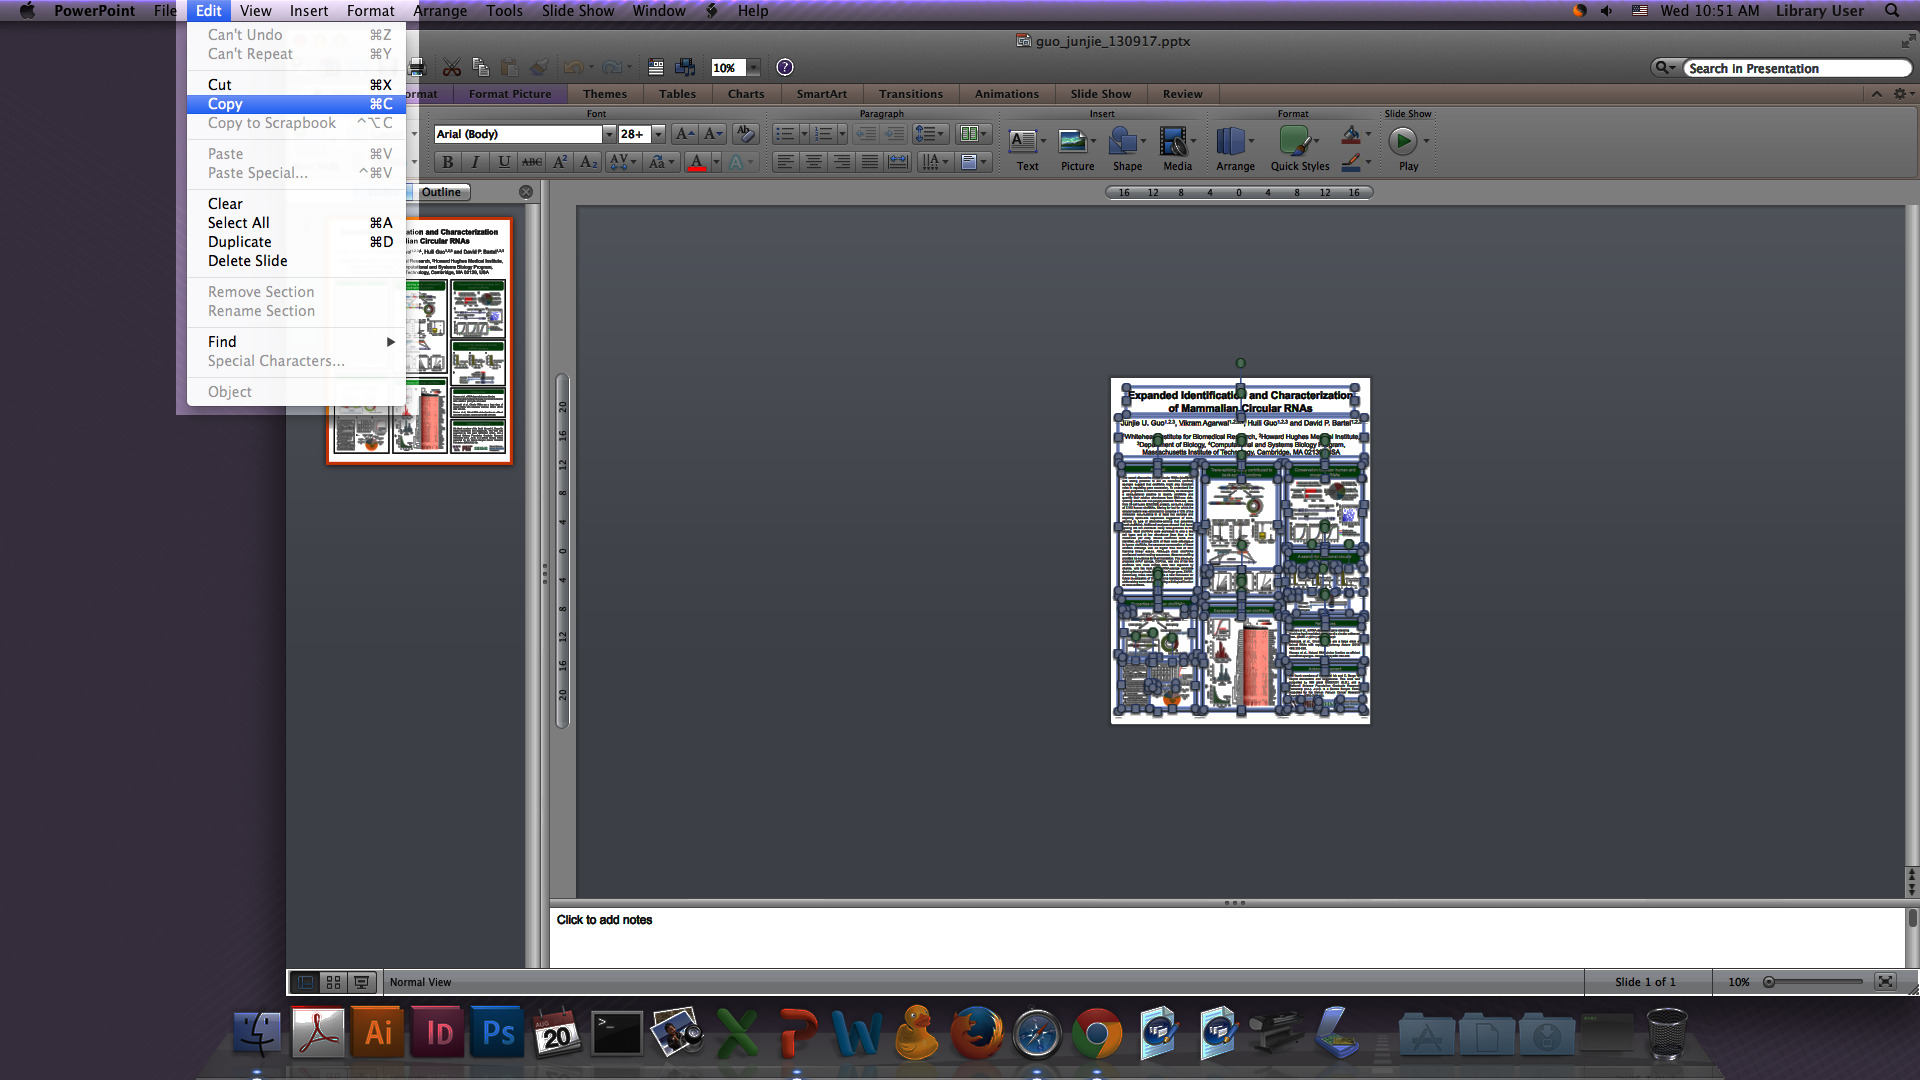
2) Once your poster is open in PowerPoint choose Edit>"Select All" from the toolbar at the top of the screen.

3) Then choose Edit>Copy from the same menu and close PowerPoint.
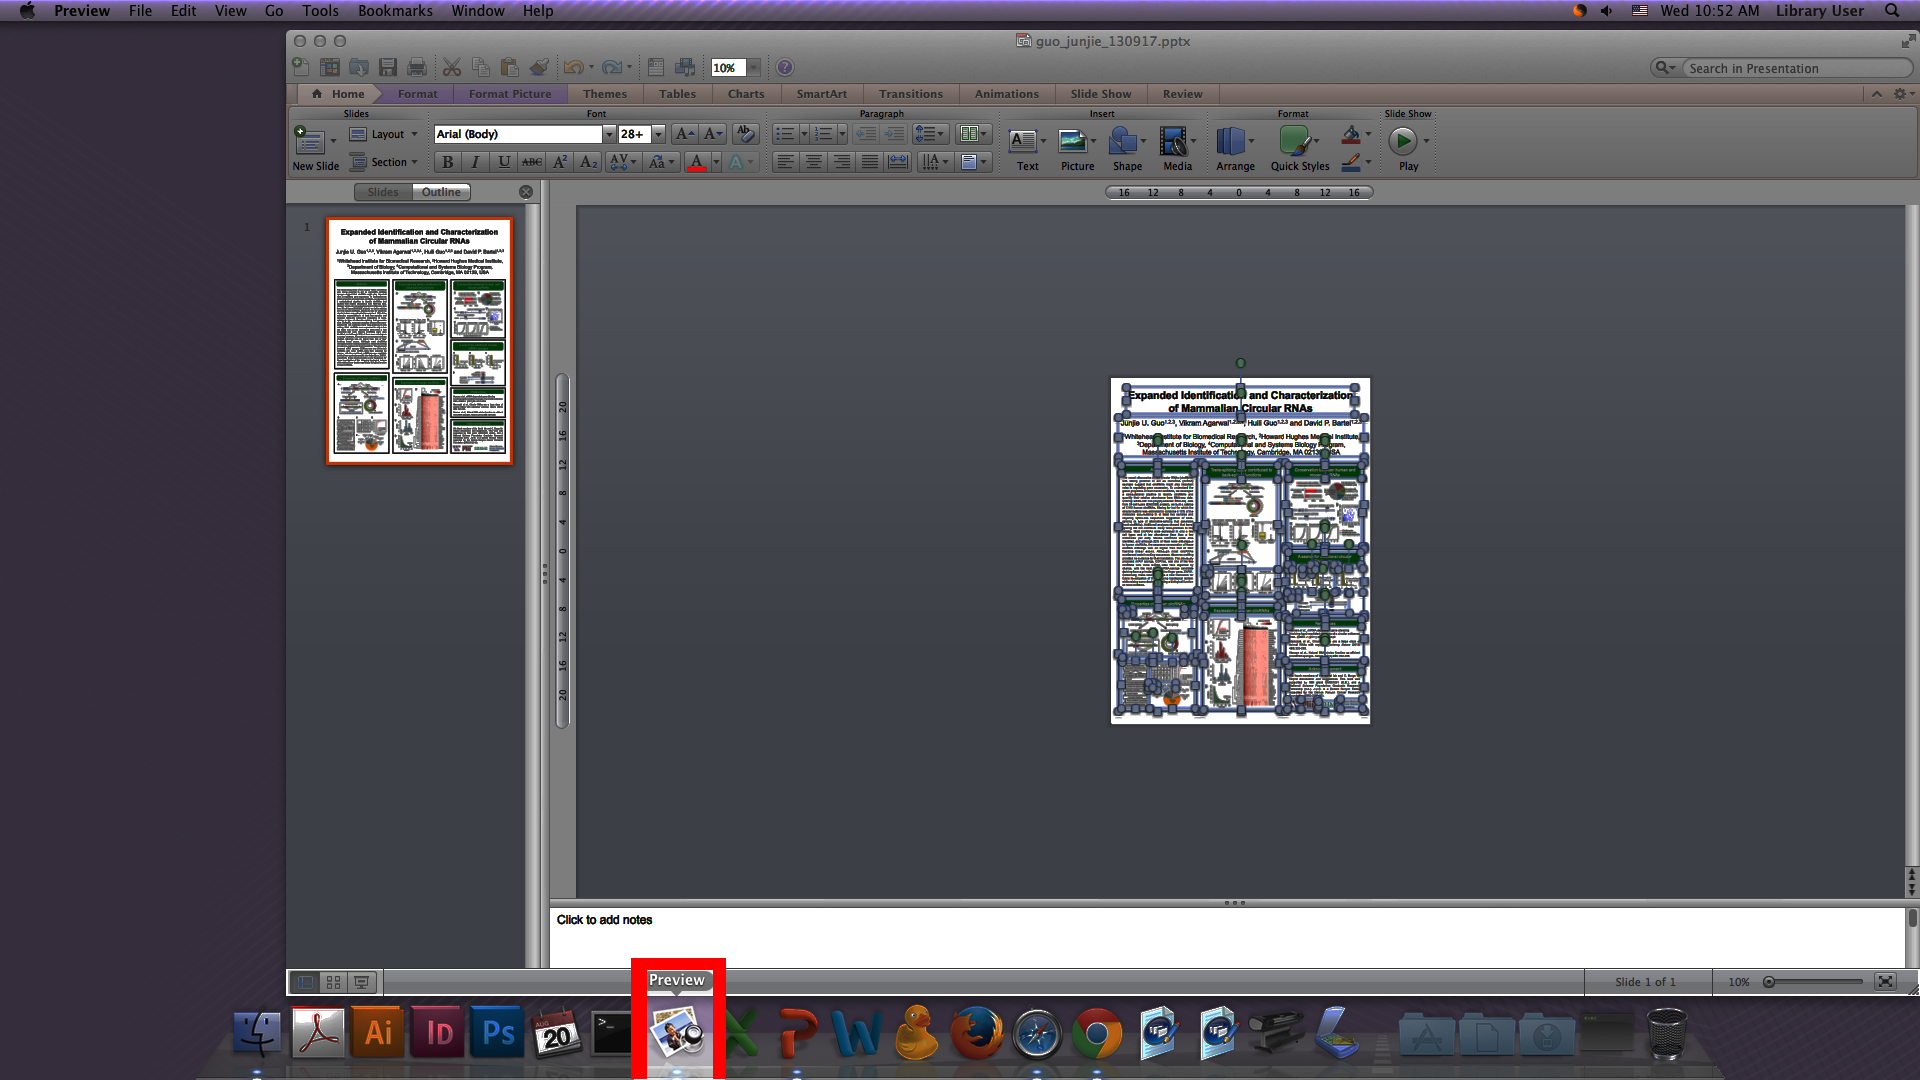
4) Open Preview from the dock at the bottom of the screen. You will know it is open when it says "Preview" to the right of the Apple in the top left of the screen.
5) When you are in Preview choose File>New from Clipboard. This will paste the information from PowerPoint into Preview. Now you may return to step 3 at the beginning of the "With a PowerPoint file, Using Preview on a Mac" instructions to print your poster.
Printing a small version of your poster
If you'd like to print a preview of your poster on 11 x 17 sized paper, select File>Print and choose a printer that has 11"x17" paper. In the dialog box, make sure to check the box that says "scale to fit paper". From the Page Setup page, choose the 11"x17" paper size.